Even if you’re not one of the roughly 50 million Americans who admit to being scared of needles, it’s understandable if you’re a little skittish about the idea of injecting yourself with anything. While subcutaneous injections are — really! — not that bad, we understand why people tend to be anxious about them when starting peptide therapy.
Yet, self-injecting is easy once you get the hang of it, and we’ve coached many of our clients through the process.
Here is some basic information to demystify the process and help you get started.
Basic Injection Types
Needles and syringes may look the same at a casual glance, but how and where a medication is applied is just as important as getting the dosage and frequency right.
The skin is made up of several layers, and some types of injections need to be applied at a deeper level than others depending on the function of the medication.
There are four types of injections:
- Intramuscular
- Subcutaneous
- Intravenous
- Intradermal
Most people are familiar with intravenous or IV injections, which are applied directly to a vein. Intravenous injections and infusions are used by medical professionals in clinic settings to get medication into the bloodstream as quickly as possible or to provide a steady and controlled dosage over a longer period of time.
Intramuscular injections are applied directly into muscle tissue. Like IV injections, intramuscular shots are used to help the medication bypass the digestion process and enter the bloodstream as quickly as possible. Intramuscular injections are typically administered in the thighs, hips, upper arm, or buttocks. The most common and familiar type of intramuscular injections are vaccines like the flu shot.
Intradermal injections (ID) are more shallow than intravenous and intradermal injections and are administered to the dermis, which is the middle layer of the skin between the epidermis and hypodermis. The dermis contains certain types of connective tissue like hair follicles and sweat glands. Intradermal injections are not as common and have a slower absorption rate because the dermis layer’s blood supply is limited compared to muscle tissue. ID injections are typically used for diagnostic testing for allergies or illnesses like tuberculosis (TB).
Subcutaneous injections are administered into fatty tissue between skin and muscle. A subcutaneous injection is more shallow than an intramuscular injection, and the absorption rate is much slower than an IV injection.
Unlike medications that need to hit the bloodstream as quickly as possible, some treatments require a much slower absorption rate into the bloodstream over a period of hours or even an entire day. Common examples of medications and treatments administered via subcutaneous injection include insulin, fertility drugs, and peptide therapies like CJC 1295, Thymosin Beta 4, BPC 157 (which can also be taken in capsule form, although this is not appropriate for everyone), Melanotan II, and PT-141.
 Why Do Some Peptides Need to Be Injected?
 Why Do Some Peptides Need to Be Injected?
Some medications or supplements are more effective when injected because it bypasses the digestive system, where the acids in your stomach will break down and dilute it before it reaches the bloodstream.
This is the case with many types of peptides. A peptide consists of a specific string of amino acids that determines its target and function in the body. When taken orally in pill form, for example, some peptide chains can be broken down into their individual amino acid components before they hit the bloodstream, making them less or completely ineffective.
According to The American Society for Pharmacology and Experimental Therapeutics:
Peptides have long been recognized as a promising group of therapeutic substances to treat various diseases. Delivery systems for peptides have been under development since the discovery of insulin for the treatment of diabetes.
The challenge of using peptides as drugs arises from their poor bioavailability resulting from the low permeability of biological membranes and their instability. Currently, subcutaneous injection is clinically the most common administration route for peptides. This route is cost-effective and suitable for self-administration, and the development of appropriate dosing equipment has made performing the repeated injections relatively easy.
Self-injections are common and safe to use at home for a number of applications including peptide therapy, but following dosing and safety instructions is important to avoid potential complications, and for the treatment to be effective.
Getting Started with Subcutaneous Self-Injections
Each type of injection requires a specific type of needle and instructions for administering your medication, but for the purposes of this guide, we’re focusing on the instructions for how to inject subcutaneous peptide treatments correctly at home.
Step 1: Check Your Instructions
This one may sound like a no-brainer, especially if you’ve used the treatment or something similar before. However, product instructions are provided for your own safety and usually contain important information about the product, dosage recommendations, and safety considerations which can change over time.
From making sure that you have the correct product to being clear on potential side effects or possible interactions with other medications, you can never be too careful. Always read the labels and if you have any questions or concerns about self-injecting, contact us for more information.
Step 2: Make Sure You Have the Correct Syringe
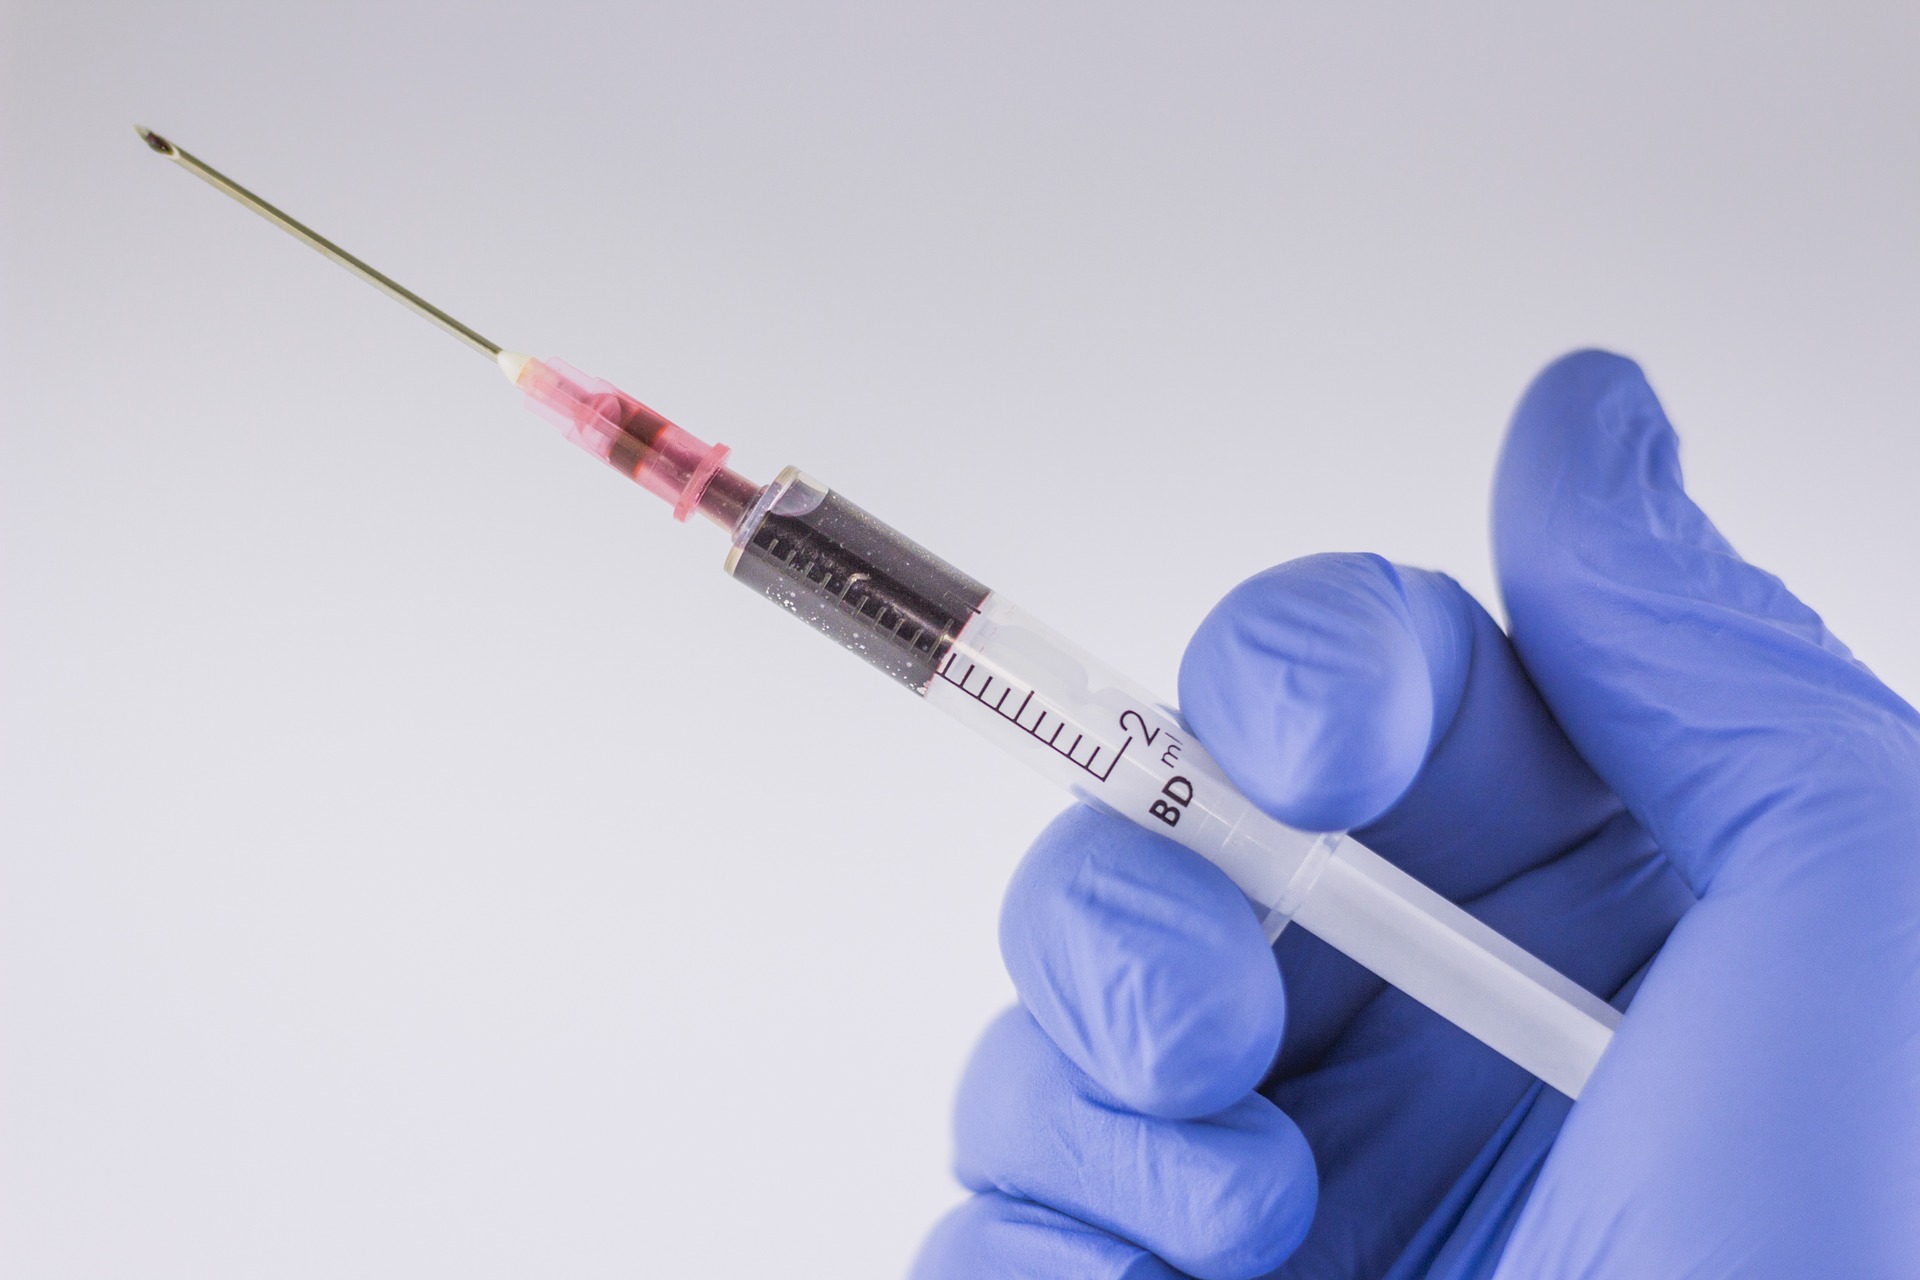
A syringe consists of the needle, which punctures the skin, the barrel, which holds and measures the medication in mL (milliliters), and the plunger which pushes the medication out of the barrel and through to the injection site. Using the correct type of needle and syringe makes a difference, as some types of injections penetrate deeper and require a longer or thicker needle than a subcutaneous shot, which is fairly shallow.
Step 3: Pick the Right Injection Site
As we’ve discussed, administering your injection in the right location is essential. The most common places to self-inject a subcutaneous shot are the abdomen, thigh, low back, and upper arm. Depending on the type of peptide therapy that you’re injecting, you might have been given specific instructions for where to administer the shot.
Depending on the frequency, you may have to switch up injection sites for multiple applications. Once you get started, keep an accurate and detailed log of your self-injection schedule including date, time, and the location of each injection, as well as any post-injection complications or side effects.
In general, you should be able to pinch at least one or two inches of skin with your thumb and forefinger to apply a subcutaneous shot, and each new injection site should be at least an inch away from the last one.
Step 4: Get the Right Supplies
You’ll have to prepare and take a few precautions to lower your risk of complications like infection and irritation at the injection site. A basic at-home self-injection kit should include:
- Alcohol wipes
- Sterile gauze
- Disposable gloves
- Sterile syringes and needles
You still need to follow clinical safety protocols even when injecting yourself at home and using your own supplies:
- Always wash your hands with warm water and soap before self-injecting
- Wear gloves
- Clean the injection site with an alcohol swab before giving yourself the shot
- Always use new needles and dispose properly after each use
- Make sure there are no bubbles in the barrel before administering
- Wipe down the injection site with a clean and sterile piece of gauze after you’ve self-injected
- Keep the injection site clean and dry after every application
Follow the instructions on the packaging on how to prepare the syringe with your peptide solution. Once you’ve prepared the syringe and are ready to self-inject, pinch at least an inch or two of the skin over the area where you plan to inject and insert the needle in first.
Subcutaneous shots can be self-injected at either a 45- or 90-degree angle depending on how much skin you can pinch. Generally, you can place the needle straight in at a 90-degree angle if you can pinch more skin, but if you can only pinch an inch of skin you can insert the needle at a 45-degree angle.
Once you’ve administered the peptide solution, be sure to remove the needle at the same angle at which it was inserted to prevent the needle from breaking.
Step 5: Safely Dispose of Your Needle(s)
Even when you’re self-injecting at home, you’re still required to follow safety protocols and regulations for adequately disposing of your syringes after each use. Depending on where you live, your state or local municipality may have specific regulations to follow which you can verify with your healthcare provider or local pharmacist.
In most cases, your syringes will come with a container with a lid to safely contain the syringe and needle for disposal. Never throw a needle and syringe into the trash without a protective cover. Even if you live alone or are the only one handling your trash, it will be processed once it gets picked up so you have to follow safety protocols every time you self-inject.
If you have to dispose of a syringe but don’t have a safety container from the manufacturer, you can place the used syringe in an empty bottle with a screw cap or in a container with a tight lid as long as the walls of the container are thick enough to prevent the needle from puncturing through.
Possible Complications and Side Effects of Subcutaneous Peptide Self-Injections
 Possible Complications and Side Effects of Subcutaneous Peptide Self-Injections
The most common complications associated with self-administered subcutaneous injections include:
- Pain, redness or swelling at the injection site
- Itching
- Bruising
- Infection
- Fluid retention
- Needle malfunction/breakage
Always follow product instructions and safety precautions before administering each injection in order to minimize your risk of complications and side effects, even if you have previous experience with self-injecting. If you experience any issues like fever, rash, or signs of infection, seek medical attention right away.
Is It Safe to Self-Inject Peptides at Home?
There’s always a slight risk of complications with any supplement or medication, and peptides are no exception. If you have any concerns, discuss your options with your primary healthcare provider and pharmacist before getting started so that you understand and feel comfortable with the process.
Complications and side effects from self-injecting are usually mild, but you shouldn’t ignore anything that seems out of the ordinary or symptoms that get worse or don’t get better after a few days.
Is Self-Injecting Painful?
Everyone’s threshold for pain is different, so what feels like a slight pinch for one person can feel excruciating for someone else. It also depends on the type of needle and the area of the body and type of tissue being injected. In general, subcutaneous shots are fairly comfortable to administer because you’re injecting through fat tissue.
How to Develop Your Self-Injecting Technique
Even if you’ve given yourself shots before, working with a needle and syringe can take a little practice, especially if you’re administering your injection in a harder to reach areas like the upper arm or low back. We recommend that you practice and get comfortable holding a needle at different angles, adding the solution to the barrel of the syringe, and keeping the syringe steady in your hand while inserting the needle and releasing the plunger to administer the dose.
One suggestion is to try a few practice runs with a softball or a piece of fruit if you want to practice your technique before you begin self-injecting. You should also become familiar with the parts of your body where you’ll be administering the subcutaneous injection before getting started.
Learn More About Peptide Therapy
If you have questions or concerns about self-injection or would like to learn more about peptide therapy treatments and applications, we’re here to answer all of your questions. Contact us today for more information.
As with any treatment, the results and potential side effects of peptide therapy will vary from person to person. Peptide therapy is not intended as a replacement or alternative to medical treatment or a healthy diet and active lifestyle, which is the cornerstone of lasting health, wellbeing, and longevity. For high functioning and athletic individuals, peptide therapy may provide an added boost to traditional therapies and treatment programs.